

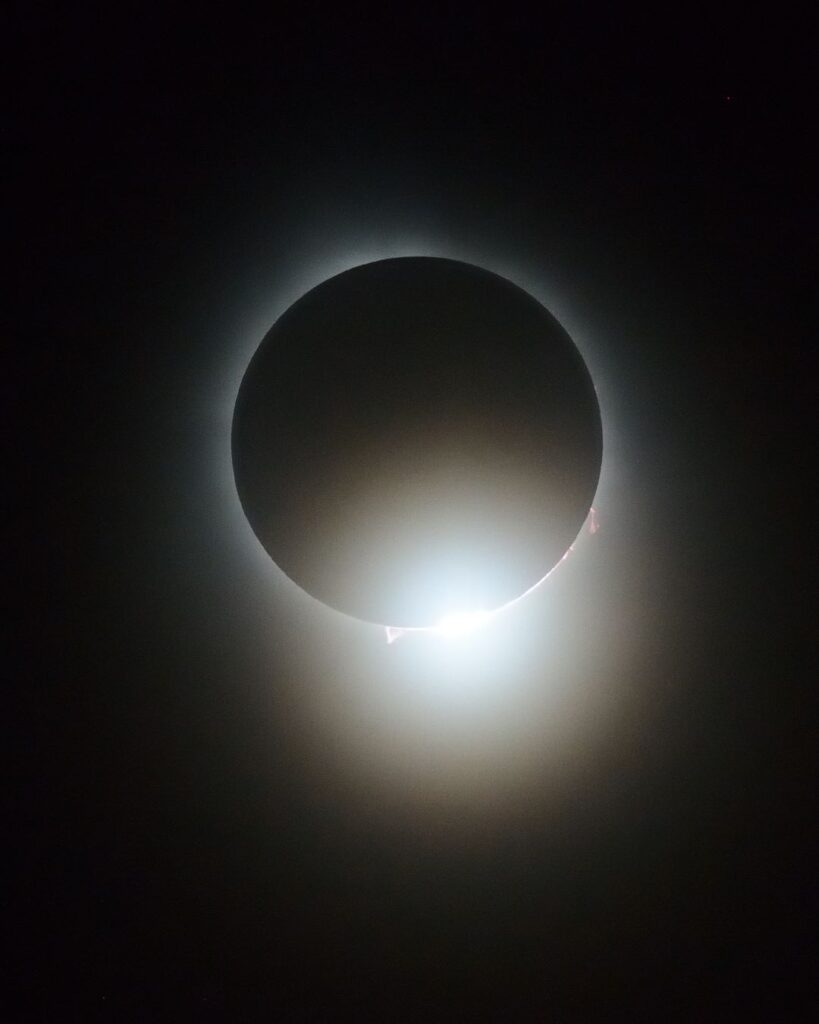
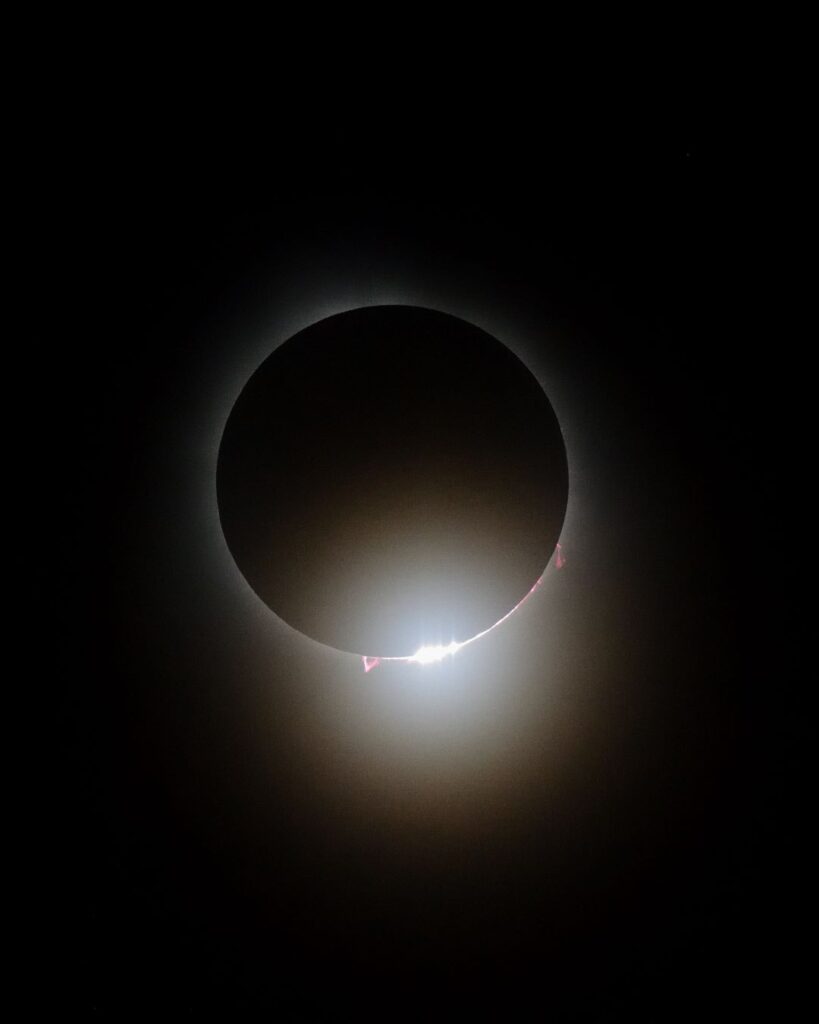
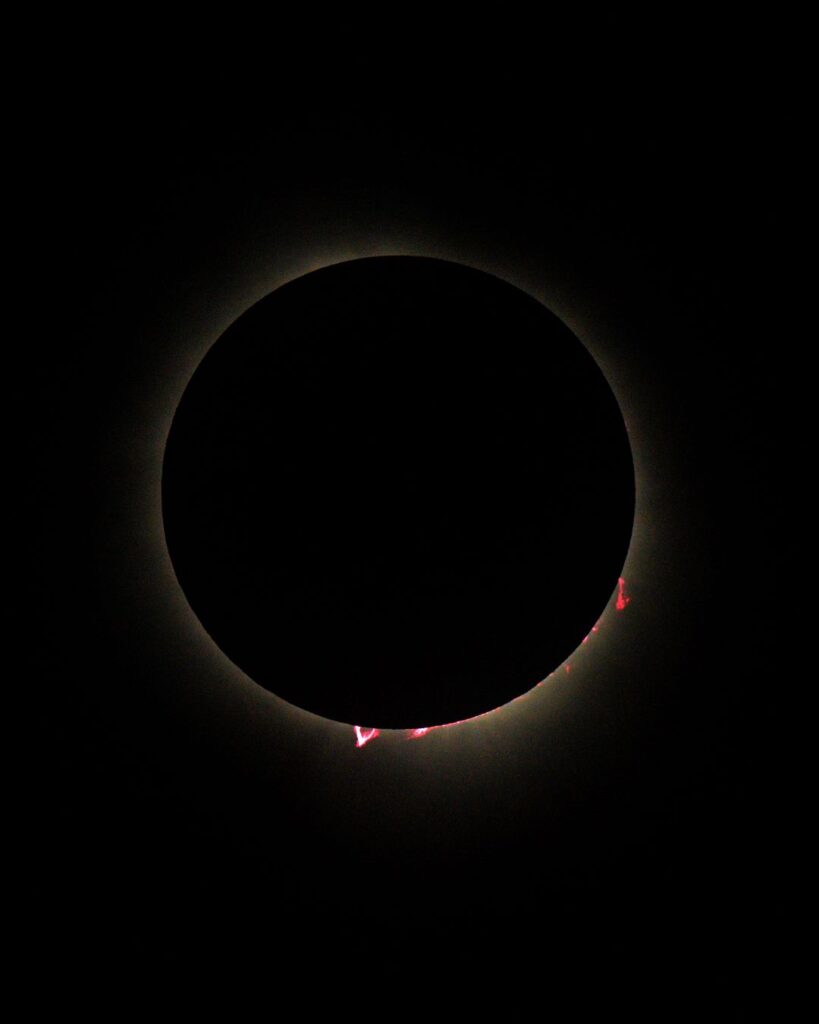
Experimenting with Solar Eclipse RAW files using NX Studio is an interesting work. RAW files offer lots of possibilities in post-production, enabling me to apply various creative interpretations of the image or present it in a totally different way. I find it very interesting to uncover new details by fine-tuning mostly EV values during post-processing.
Here is a serious of post production images, staring with RAW. All images are resized to 1080×1350 for web viewing.

While I’m well-versed in bracketing, I find myself opting towards post-production adjustments, especially considering the limitations on the number of shots available when RAW is enabled. This preference varies depending on the camera model, format (DX/FX), and its capabilities.
I’ve found that the Nikon Z Series (Mirrorless) stands out with its exceptional Frames Per Second (FPS) performance when RAW is enabled, and they all have Full Frame (FX) sensors.
Adobe Lightroom (Paid) offers a broader range of features compared to NX Studio (Free) while working with RAW files.


Leave a Reply